I mean, the only one that I know of that explains the way I do it is in Japanese ("Photoshopで作るパターン" by 柴漬け), so yeah :/
The way I create my patterns is a combination of the link mentioned above and this ("WELCOME JULIA AND HOW TO MAKE A REPEAT PATTERN" on Design Sponge by Grace Bonney).
I'll be adding in images later today for the steps because I don't have a simple pattern that follows these instructions at the moment.
1. Draw your design. This could be done either on paper or just straight on the computer. If you're doing it on paper, scan it in once you're done drawing (300dpi recommended when scanning in) and adjust the image on Photoshop later, using the options listed under Image > Adjustments. I usually just use "Brightness/Contrast" and "Levels." If you don't know what they do, just play around with it a little until you're satisfied with the result (when making the adjustments, if you don't have the "Preview" option checked already, do so--it'll save your life).
2. Open your image on Photoshop. Go to Filter > Other > Offset. This will allow you to wrap your image vertically/horizontally on the canvas seamlessly. Type in half the width/height of your design, so that it'll appear on all 4 corners. Now you have a giant white space in the middle.
3. Fill the empty space. If you're doing it on paper, print your image, and then proceed to drawing in the design. Once done, scan it in again; however, this time, be careful to line it up as perfectly straight as possible on the scanner, or else you'll have some extra tweaking to do in Photoshop later.*
4. Create a pattern. Go to Edit > Define Pattern. Name your pattern and hit enter. Congratulations, you've now created a pattern in Photoshop :) Don't forget to save your file too! If your design is done on paper,** it's probably huge, so resize it to whatever size you want (Image > Image Size / Command+Alt+I), and then define the pattern.
You can now use your pattern by using the Paint Bucket tool. Change its option from "Foreground" to "Pattern" and select your newly created pattern. Create a new file and test the pattern out.
* If you were like me and did something like this,
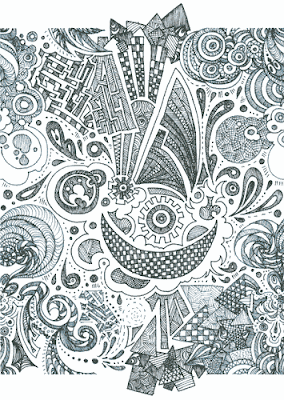
you need to do some tweaking before you define your pattern. For this image I did the following:
First off, it's not even scanned in straight, so I needed to rotate the canvas 0.3 degrees counter-clockwise and crop the excess white space out. Then, I wrapped the image vertically using Offset until I got something like this:
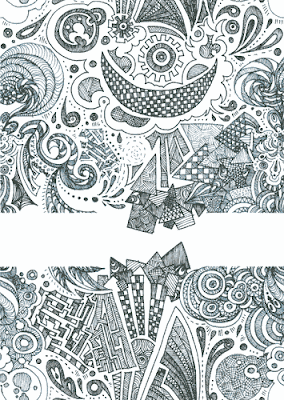
Using the Rectangular Marquee Tool, I selected the bottom part of the design and cut and pasted the selection onto a new layer. Next, I changed the layer mode to "Multiply," so that I could see what's under it and lined it up with the upper part.
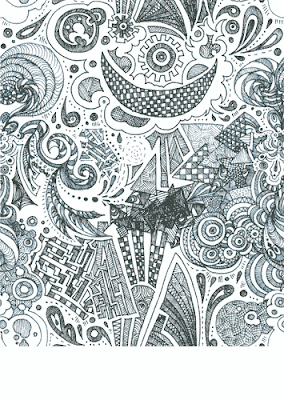
From here, I could've erased the overlapping parts, but I decided not to because
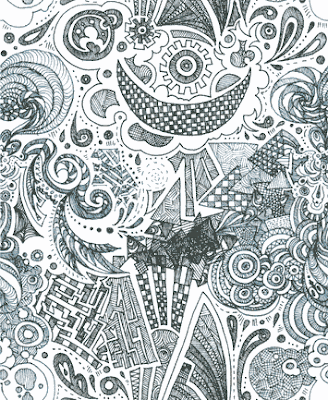
I merged the layers, and tadah--I'm done.
Well, not really for this particular design because I colored it. I made a new layer, set the mode to Multiply, and filled in with blue.
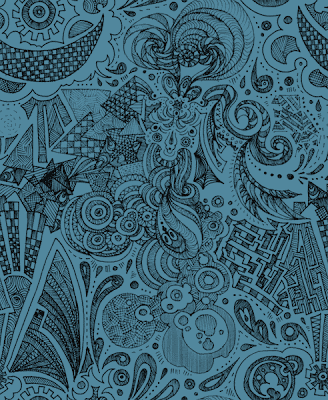
Okay, NOW I'm really done.
**Your design probably doesn't line up perfectly by like 1 or 2 pixels because it's a scanned in image, but don't fret--there's a reason why it's in 300dpi: when you scale it down, you won't be able to see the flaw. But if you're a perfectionist, you could play with Offset and clean the connecting parts.
Hooray for patterns~ they're so fun to make! I've only made 3 so far, but I'm planning to make more when I find the time to do it *u* Here's the other 2 that I've made so far:
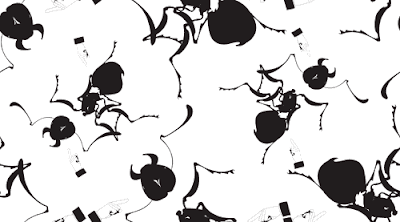
For GRD 4100 Magazine Featured Article ("Deeply unsettling wallpapers"). I made this using Illustrator and Photoshop.
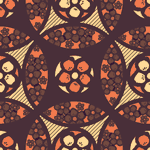
For GRD 4020 Wine Bottle Redesign / this blog bg.

No comments:
Post a Comment